This post may contain affiliate links. If you buy through them, I may earn a small commission at no extra cost to you. Read my disclosure.
By the first frost, most porch planters look tired: brown stems, flopped annuals and a pot of cold soil that nobody wants to deal with until spring. That’s a shame, because the front door is the one part of the garden everyone sees all winter. Neighbors walk past it, guests arrive through it, and you come home to it every evening in the dark.
The good news is that winter planters are some of the easiest containers you’ll ever put together. Nothing needs to grow. You’re arranging cut branches, berries and lights in soil that will soon freeze and hold everything in place. Do it right once and the same planters can carry you from Thanksgiving all the way to February, with one quick swap after Christmas.
I’m a landscape designer, and below is the recipe I’d use for any client’s front porch: how to build the basic arrangement, nine ideas to make it your own, what it costs and how to keep it fresh until spring.
Watch the makeover
From empty fall pots to a glowing winter porch.
- Clear out the summer planters
- Add birch poles and fresh evergreens
- Tuck in berries, pine cones and lights
- Hang the wreath and switch on at dusk
Visualization created with AI tools.
The Basic Recipe: Thriller, Filler, Spiller
Summer containers follow a simple formula, and winter ones do too. Every good winter planter has three parts.
- Thriller (height): something tall and vertical in the center. Birch poles, red twig dogwood stems or a small live conifer. This is what makes the pot visible from the street.
- Filler (body): dense evergreen branches packed around the thriller. Fir, pine, boxwood, magnolia leaves or juniper. This is most of the volume.
- Spiller (softness): branches that drape over the rim, like drooping cedar or trailing ivy. They hide the edge of the pot and make the arrangement look generous.
Then add accents: berries, pine cones, dried orange slices, a bow and a string of lights.

Choose a pot that survives a freeze
Thin terracotta and cheap glazed ceramic absorb water, and when that water freezes they crack. For winter, choose fiberglass, resin, concrete, metal or thick frost-proof stoneware. If you only have a terracotta pot, set a plastic nursery pot inside it and arrange the greens in that instead.
Build it in this order
- Prepare the base. Keep the old potting soil in the pot and pull out the summer plants. If the pot is empty, fill it with soil or sand to within 2 in of the rim.
- Water the soil before you start. Damp soil grips the stems, and once it freezes, nothing moves.
- Insert the thriller in the center (or slightly to the back if the pot sits against a wall). Push stems at least 6 in deep.
- Add the filler, working from the center outward. Angle branches so they fan out, and cut fresh ends so they can take up moisture.
- Finish with spillers around the rim, pointing slightly down.
- Tuck in accents last, then step back to the sidewalk and check the shape. Most first attempts need more greens than you think.
Designer’s tip: make the arrangement at least one and a half times the height of the pot. A 20-in urn should be about 30 in tall once it’s filled, birch poles included. Small arrangements look lost next to a front door.
9 Winter Porch Planter Ideas
1. Classic Evergreen Urn
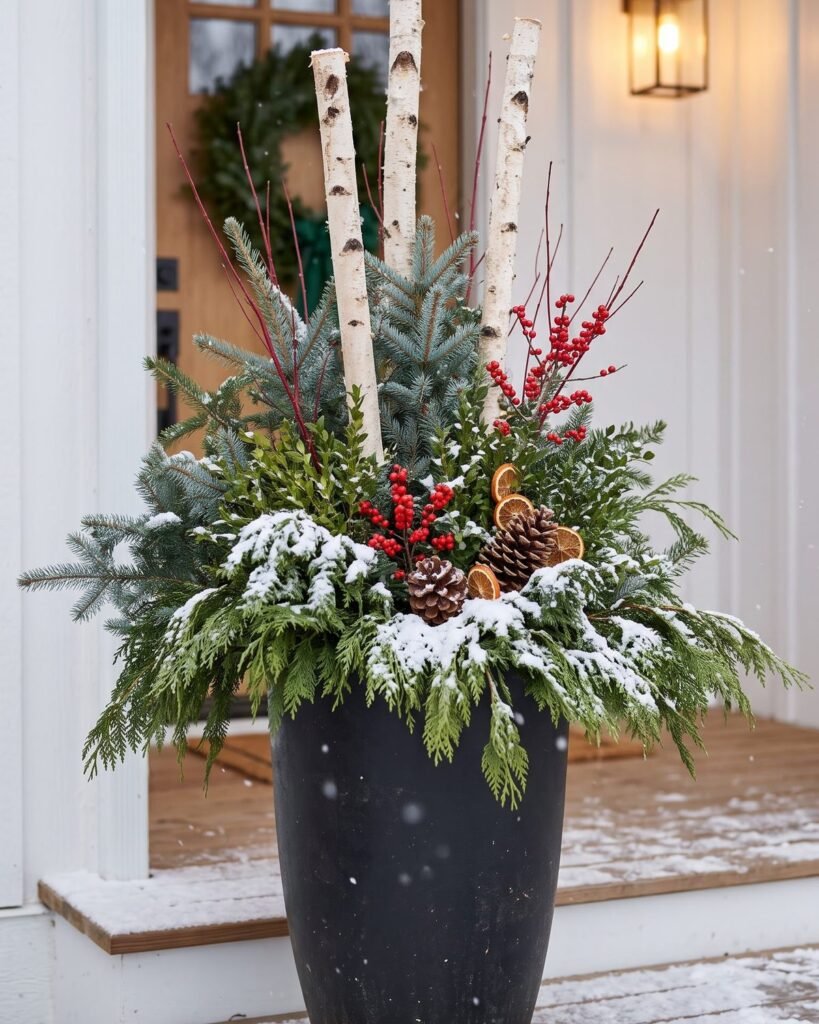
Start with the timeless version: a black urn packed with three or four kinds of evergreens and a handful of big pine cones. Mixing textures is the secret. Pair soft white pine with stiff fir, flat cedar and the round leaves of boxwood, and the pot looks full and rich even without color.
How to: use the basic recipe above, then wire 5–7 large natural pine cones onto floral picks and push them in at different heights. A pair of tall pedestal urns on either side of the door gives the classic, symmetrical look.
Cost: $15–30 per pot if you cut greens from your own yard; $45–70 if you buy them.
2. Red Twig Dogwood and Winterberry
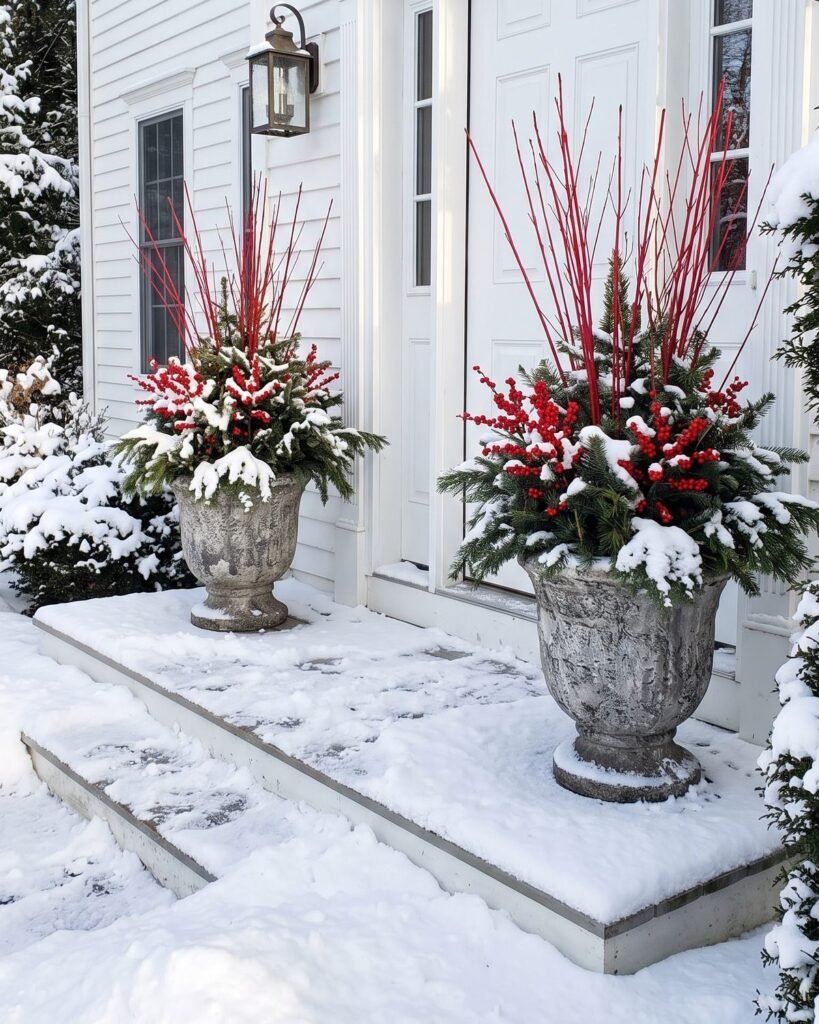
Nothing stands out against snow like bright red stems. Red twig dogwood gives height and a clean, graphic line, while clusters of winterberry add dots of color at eye level. It works with any house color, but it’s especially striking against white siding or a dark door.
How to: cut 10–15 dogwood stems 3–4 ft long and bundle them in the center. If you don’t grow dogwood, weatherproof red berry twig stems give the same effect and can be reused for years. Surround with dark fir to make the red pop.
Cost: $20–45 per pot.
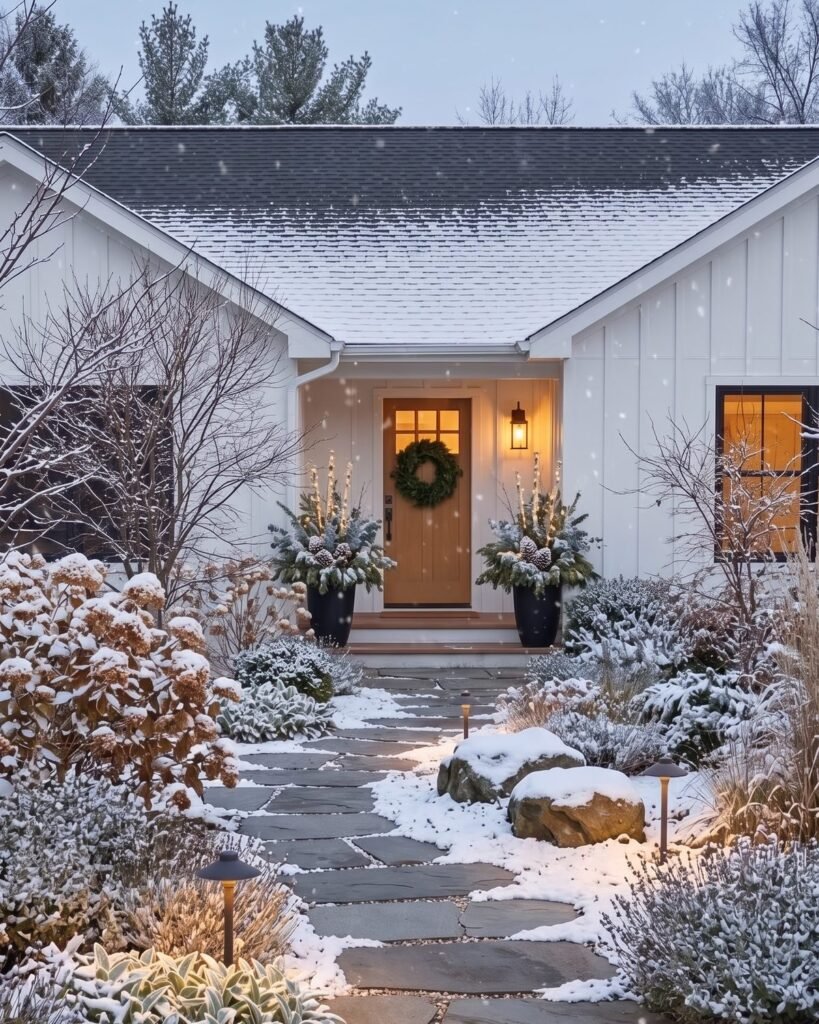
3. Birch Poles with Fairy Lights
Three white birch poles wrapped in tiny warm lights turn an ordinary planter into a glowing lantern every evening. This is my favorite idea for a porch that’s mostly seen after dark, which in December is almost always.
How to: push three poles of slightly different heights into the center and spiral a strand of battery fairy lights with a built-in timer up each one. Set the timer once and they’ll switch on for six hours every evening. Choose warm white (around 2700K) so the light feels cozy rather than icy.
Cost: $25–50 per pot including lights.
Designer’s tip: hide the battery box at the back of the pot, tucked under the greens. Put fresh batteries in on December 1st and you’ll make it past New Year’s.
4. A Live Dwarf Alberta Spruce
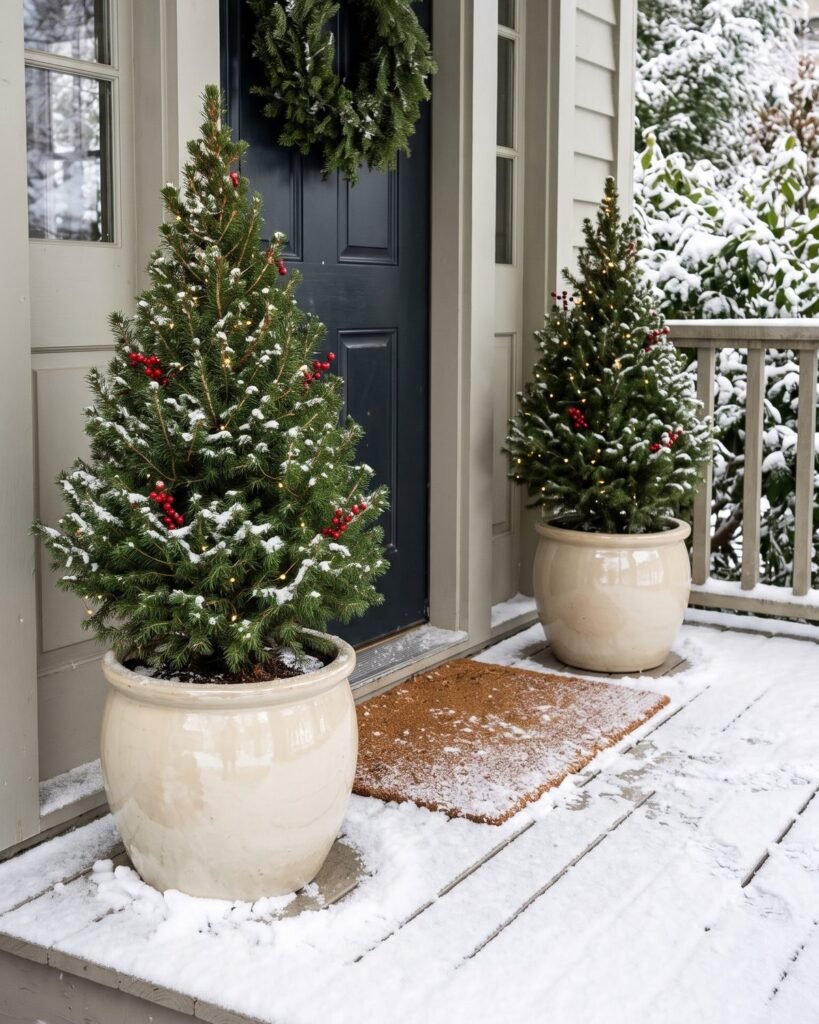
If you’d rather plant something that lives, a dwarf Alberta spruce in a large pot gives you a tiny Christmas tree by the door. Decorate it lightly with lights and a few berry picks, then plant it in the garden in spring.
How to: choose a pot at least 18 in wide so the roots have some insulation, and water whenever the soil isn’t frozen. Containers get colder than the ground, so in zones 5 and colder, group the pots against the house or wrap them with burlap during deep freezes. Your local nursery will have the best-rooted plants.
Cost: $35–60 per plant.
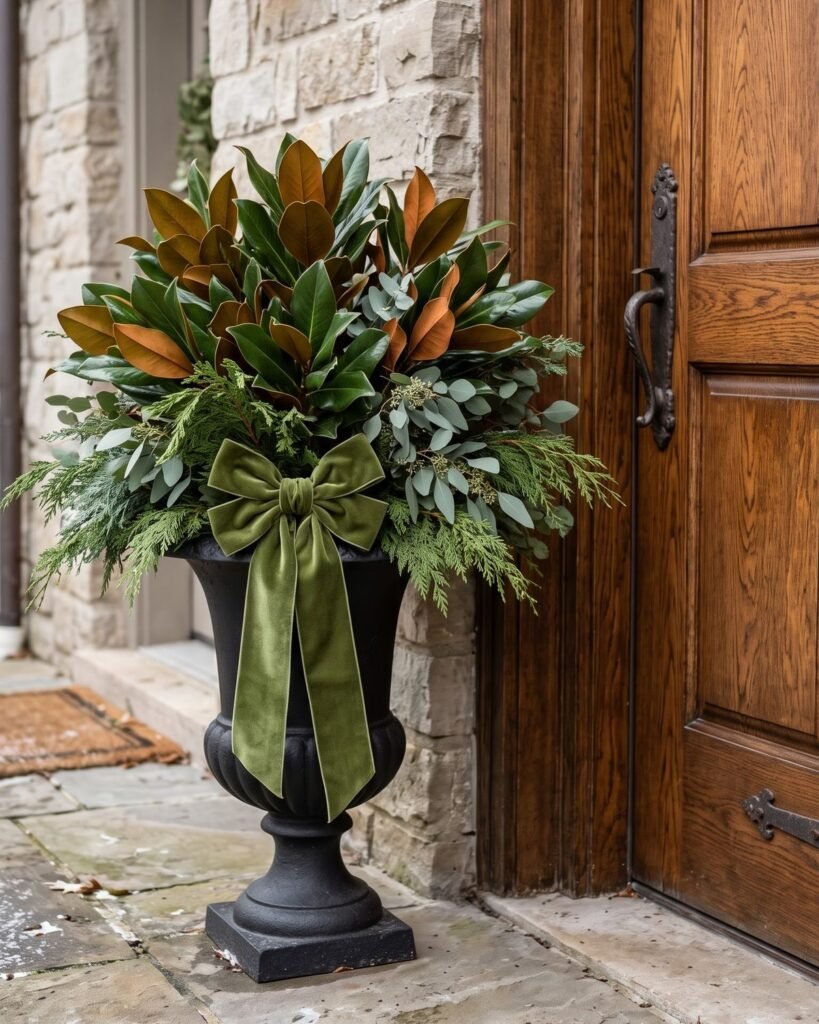
5. Magnolia Leaves and a Velvet Bow
For a quieter, more elegant porch, skip the red. Glossy magnolia leaves show off their velvety brown undersides, eucalyptus adds a soft silver-blue, and a single moss-green velvet bow finishes the look. It reads as seasonal without shouting Christmas.
How to: use magnolia as the main filler, add cedar for softness and a few stems of eucalyptus. Tie a large green velvet bow to the front of the pot or to the door wreath.
Cost: $40–70 per pot.
6. Pair the Planter with a Lantern
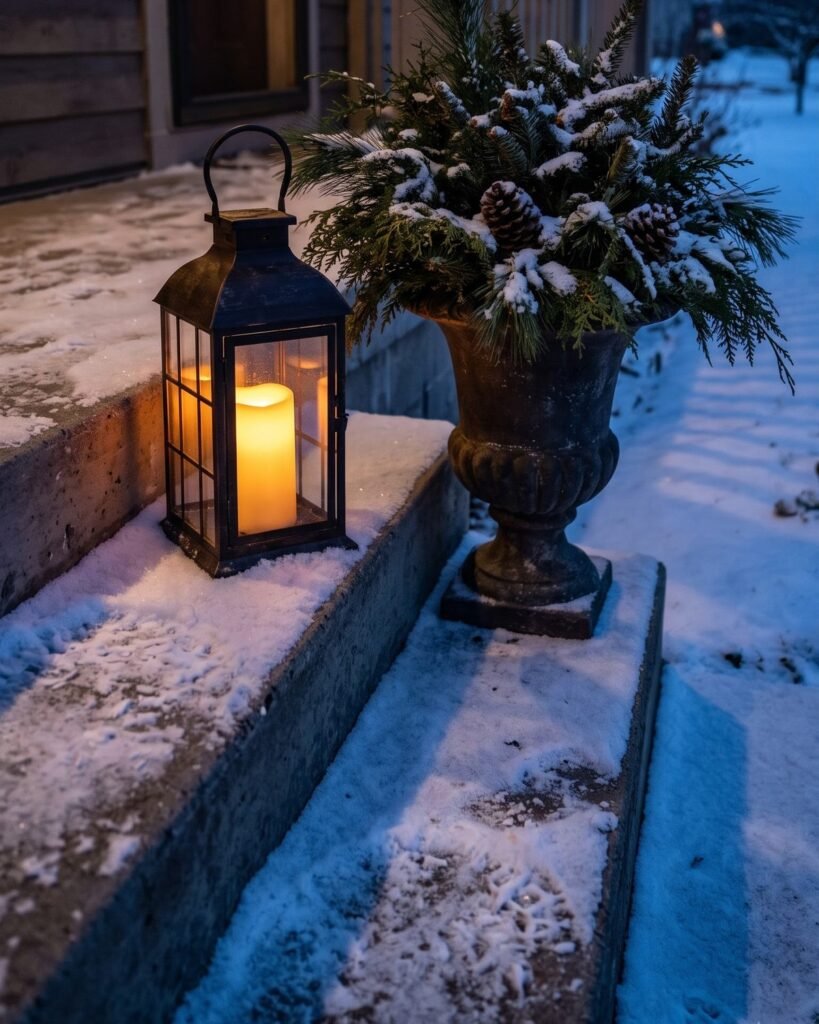
A planter and a lantern together look more finished than either one alone. The lantern adds height, a second light source and a bit of architecture.
How to: place a tall lantern on the step beside each planter, or set a smaller one right in front. A set of black metal lanterns with LED candles on a timer is safer than real flames and lasts all season.
Cost: $40–90 for a pair of lanterns.
7. A Matching Winter Window Box
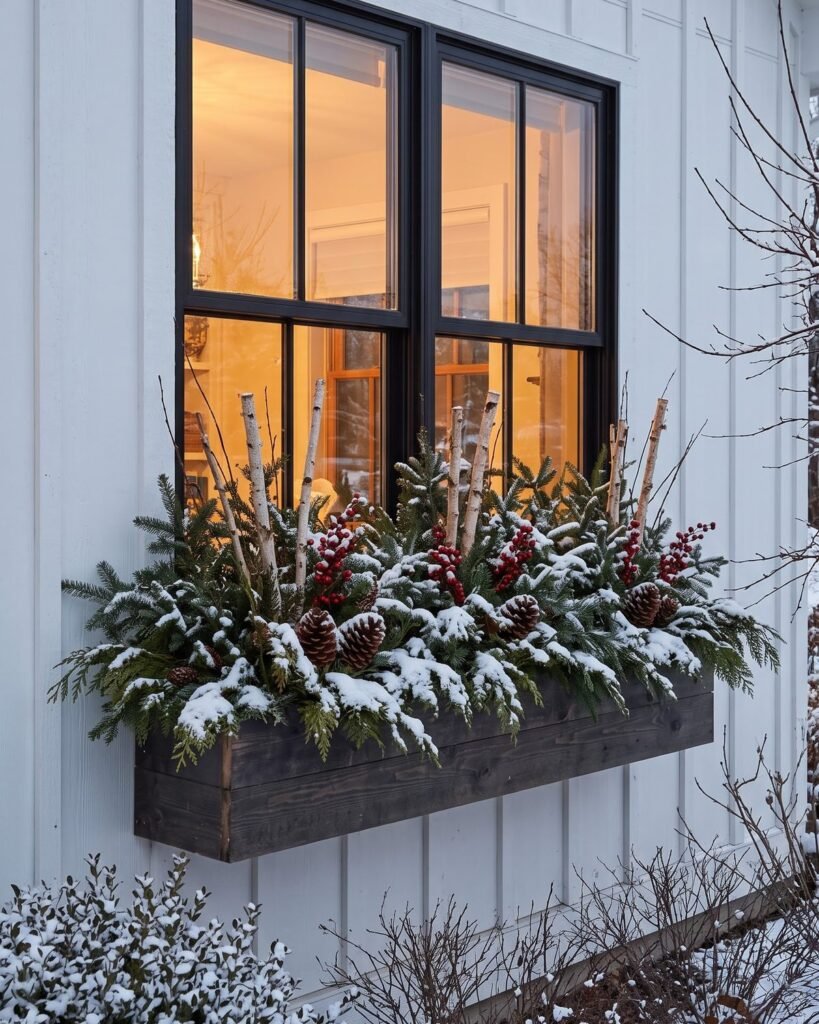
If your house has window boxes, fill them with the same mix as your door planters. Repeating the same greens, berries and lights across the front of the house makes everything look planned, the same way repeating plants does in a summer border.
How to: lay longer branches horizontally so they spill over the front, then add short upright pieces at the back. A 36-inch black window box in a classic paneled style suits most houses; it’s self-watering, which also helps in summer.
Cost: $25–50 per box.
8. A Rustic Basket or Vintage Sled
For a farmhouse porch, try a container that isn’t a planter at all. A galvanized bucket, a large woven basket or an old wooden sled leaned against the wall with a bucket of greens on it feels relaxed and personal. Thrift stores and estate sales are full of these in the fall.
How to: line baskets with plastic, add a block of damp floral foam or soil and arrange the greens as usual. Tie a plaid ribbon to the handle.
Cost: $10–40 if you thrift the container.

9. The After-Christmas Swap
This is the trick that makes your planters last until February. In the first week of January, take out the red bows, ornaments and anything that says “holiday,” and keep the greens and lights. Add silver-blue eucalyptus, frosted pine cones or white-painted branches, and the same pots now look wintry rather than festive.
How to: pull out the red accents, add 4–6 stems of silver or white material, and replace any branches that have browned. Ten minutes, and your porch looks fresh for another six weeks.
Cost: $10–20.
What It Costs
| Approach | Per pot | Best for |
|---|---|---|
| Cut greens from your own yard | $15–30 | Gardeners with evergreens and a few accents to buy |
| Buy greens and accents | $45–90 | The fullest, most layered look |
| Buy a ready-made arrangement | $80–150 | No time, no mess |
To save money, ask a local tree lot for their trimmed lower branches; many give them away for free. Faux stems cost more up front but can be reused for years, so mix a few good artificial pine and cedar stems with fresh greens to stretch your budget.
How to Keep Winter Planters Fresh
- Water when it’s above freezing. Cut greens keep drinking until the soil freezes. On mild days, give the pot a drink.
- Use an anti-desiccant spray. A coat of Wilt-Pruf seals in moisture and keeps needles green for weeks longer, especially in windy spots.
- Keep pots out of hot, dry air. Planters next to a dryer vent or a heated doorway brown fastest.
- Replace, don’t redo. If a few branches fade, pull them and push in new ones. The rest of the arrangement can stay.
- Check the lights. Swap batteries at the start of each month.
With those habits, fresh greens usually last six to eight weeks outdoors in cold weather.
Frequently Asked Questions
How long do fresh evergreens last in outdoor planters?
In cold weather, six to eight weeks, often longer if you spray them with an anti-desiccant and keep the soil moist until it freezes. In warmer climates, expect three to four weeks and plan a refresh in early January.
Can I use artificial greens?
Yes. Good-quality faux stems are reusable and look convincing from the sidewalk. Most designers mix them: faux for the base and fresh for texture and scent.
What planters won’t crack in winter?
Fiberglass, resin, concrete, metal and frost-proof stoneware. Avoid thin terracotta and inexpensive glazed ceramics, or protect them by placing a plastic nursery pot inside.
Are winter planters safe for pets?
Most common evergreens are low-risk, but holly berries and mistletoe are toxic to cats and dogs. If you have curious pets, use faux berries and skip mistletoe.
When should I make my winter planters?
Right after Thanksgiving is ideal. The soil is still workable, greens are fresh at tree lots, and you’ll enjoy the planters for the whole season.
Shop the Look
These are the pieces I’d use for the planters in this post. They’re affiliate links, so I may earn a small commission at no extra cost to you.
- Tall pedestal urn planters, set of 2: the classic door pair
- Weatherproof red berry twig stems: red height that lasts for years
- Battery fairy lights with timer, warm white: for birch poles and greens
- Black metal lanterns, set of 2: extra height and light by the steps
- Large green velvet bow: for the magnolia urn or the wreath
- Large natural pine cones: easy texture for any arrangement
- Artificial pine and cedar stems: mix with fresh greens to save money
- Mayne Nantucket 36-inch window box, black: to repeat the look at the windows
- Wilt-Pruf anti-desiccant spray: keeps fresh greens green longer
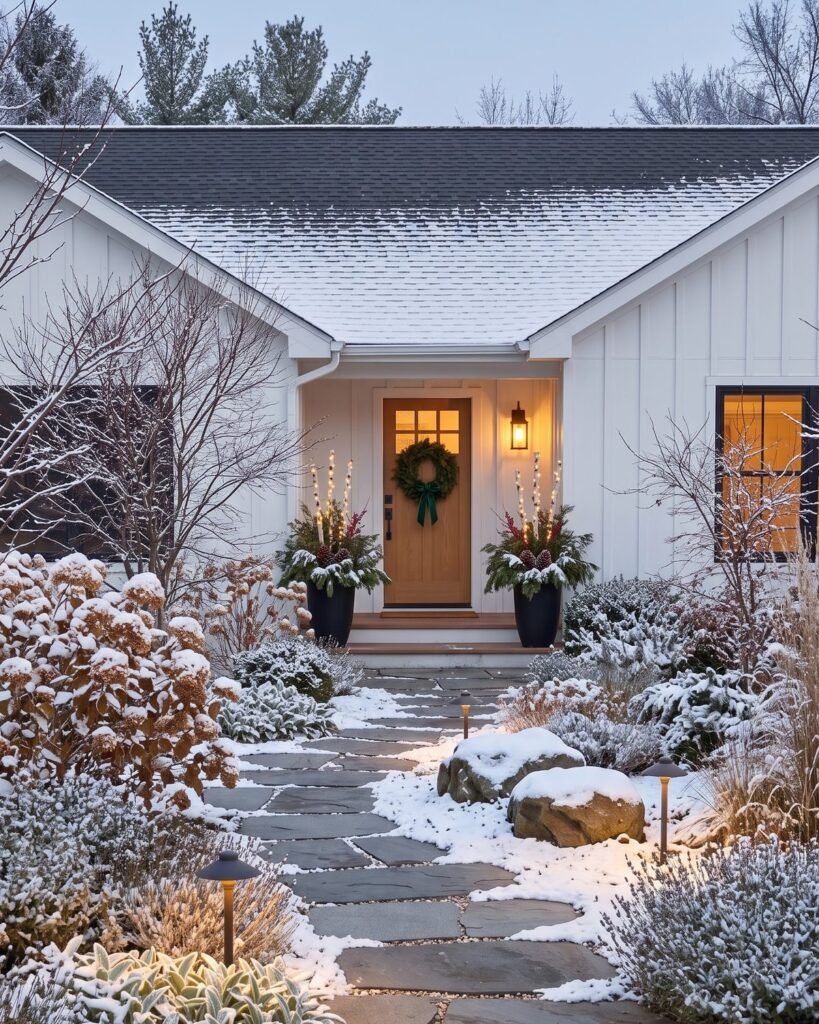
Start with One Pair of Pots
You don’t need to decorate the whole house. One generous pair of planters by the front door, a string of warm lights and a quick swap after Christmas will make your porch feel welcoming all winter long.
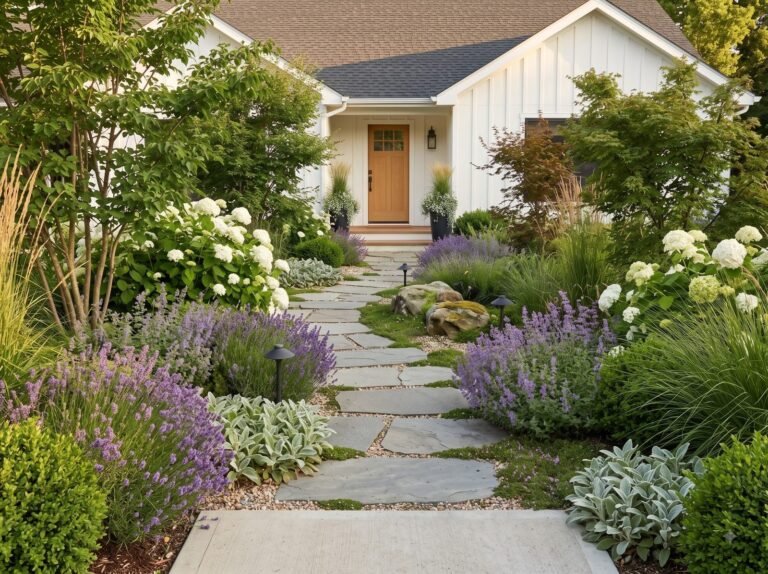
Planning next spring’s front yard? See how this same farmhouse looks in summer in my Front Yard Landscaping Ideas on a Budget, and save this post to your Pinterest board so you can find the recipe again next November.
Images in this post were created with AI tools to visualize the ideas.